Friendship Braid
(half-hexie method)
I had been reading that if you pre-cut your scraps into "standard" size shapes, you'll be more likely and able to whip up a quilt when you see a pattern that uses that shape. During a scrap basket management attempt, I used some mindless TV-watching time to cut as much of my scraps as I could into 3" wide strips. Why 3"? .. the answer is easy enough: that was the width of my ruler. No thinking involved! :-)
It was after I had done all this cutting that I realized that .... what if the pattern I wanted to make didn't USE the shapes I had cut? I'd be out in the cold, so to speak. For me, it might be better NOT to do any pre-cutting. Well, moot point at this time. (Since then, I have given up pre-cutting scraps. I'll cut them as I need them for whatever it is that I'm making.)
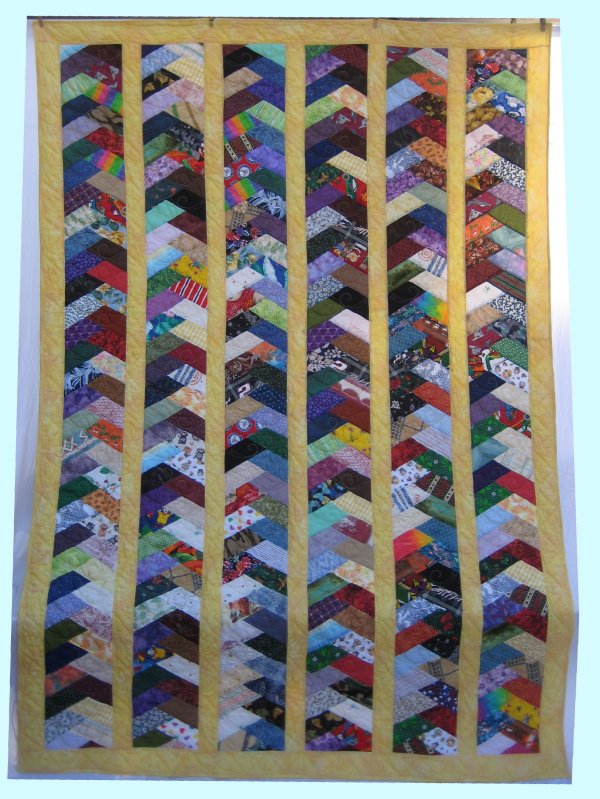
I had ran across a YouTube video by the Missouri Star Quilting Company on making Friendship Braids using a half-hexagon template and used the technique to make a small fund-raising quilt. This really IS a painless method! The resultant braids are nicely even and straight! They used a half-hexagon ruler. I didn't have one, so made my own from cutting a hexagon shape in half.
So, when my scrap basket started to overflow *once again*, I remembered the half-hexie technique. This much bigger quilt is the result.
 The quilting part remains a struggle for me. I have no inspiration for what to do. I *have* books .. but I need to REMEMBER to reference them! What earthly good are reference books if you don't use them???
Fortunately, this time, I did remember Darlene Epp's "Pocket Guide to Free-handing" (well, *WELL* worth their price. This is an invaluable reference set for any quilter. I can't gush enthusiastically enough.)
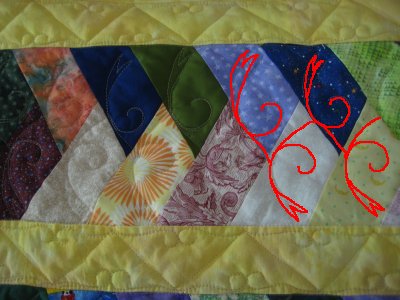
Specifically, I remembered a wonderful zig-zaggy design with some scrolls. Parenthetically, I have discovered that Darlene has also made this design available as a digital pantograph.
 Back when I didn't have my own longarm machine and I used a local longarmer, she had stitched this incredibly intricate design on a narrow border. I was SO impressed!
When I bought my set of Darlene Epp's books, I discovered that this zig-zaggy design was from there! Now *I* could do it also!
And I did. I was SO impressed! :-)
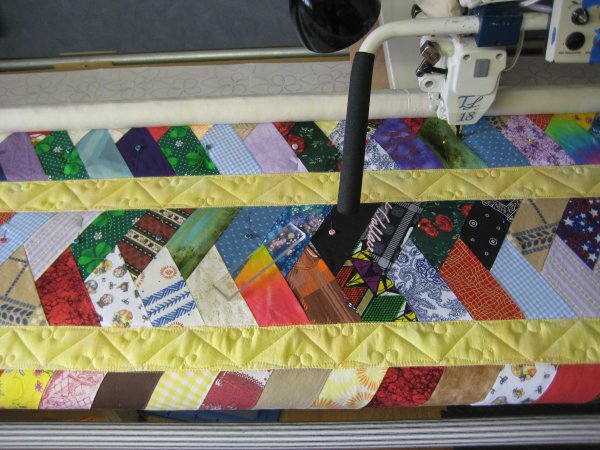
Back to my quilting efforts ... first, I stitched in the ditch around each Friendship Braid and around the perimeter (as I advanced the quilt). The stitch in the ditch stabilized the entire quilt so that by the time I reached the end of the top and secured the bottom edge, I could unpin the top from it's rail. That left me with a single layer of quilt to roll back and forth. The stitch in the ditch prevented wrinkles and tucks in the backing. I was one happy camper.
 I measured the length of the sashing and found an even multiple; it turned out to be 5". So, every 5", I put a pin as a reference mark. Then using a straight edge, I zig-zagged from mark to mark, putting in the scrolling bits where appropriate.
It's not perfect .. some of the scrolly bits are not always the same length .. but that's because I'm not a computer. :-) When you are driving the machine yourself, you're going to get some variations and discrepancies.
As long as it's not horribly ugly, I figure it's all good. :-)
Once all the horizontal sashings were quilted, it was time to quilt the braids. Once again, I was stumped. Because of the "busy-ness" of the fabrics, any detailed quilting would become lost. I didn't want to do the same quilting I had done on my French Braid quilt.
 After a lot MORE research, I found a swoopy design "someplace" that looked kinda cool but it was too short for my braids, so I added a scroll-thing to take up the space. Unfortunately, I neglected to write down WHERE I found this design and I haven't a clue how I found it in the first place.
When all the horizontal rows were quilted (the top & bottom borders, the sashings & the braids), I removed the quilt from the frame, turned it 90° so the sides were pinned to the rails and finished the zig-zaggy design on those borders.
From my notes, I see that it took me a total of 4 hours to do this quilting. One hour for the stitch in the ditch, 1-3/4 hours for the sashing and another 1-1/3 hours for the braids.
This quilt will be going to a local crisis nursery.
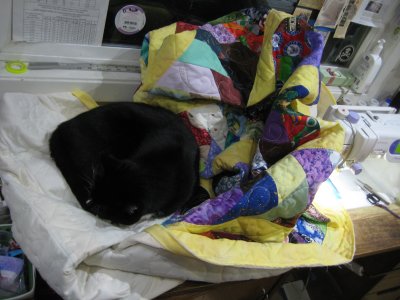 And no quilt is complete until it's been properly inspected for quality. :-)