Josephine's Memory Quilt
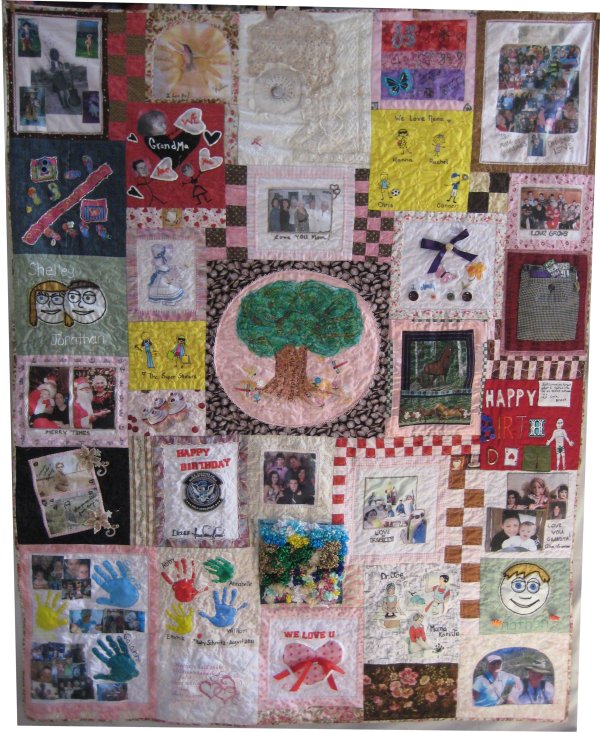
size: 58" x 72"
My Dad has a lovely, lovely lady friend. Her name is Josephine. She comes from and married into a traditional Italian family, which has a bazillion family members. :-) Josephine has 5 daughters, all of whom are equally as lovely as their Mom.
In January, one of the daughters called me up and very politely, very respectfully, very tippy-toeing around the bush asked if I would consider making an 85th birthday memory quilt for Josephine. Well, gosh darn it ... there was no question that the answer was going to be 'yes'!
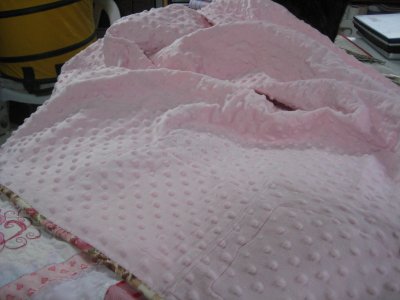 We talked about what the daughters' vision was, about practical considerations and about timeframes. Eventually the guidelines were agreed upon. Members of the family ... the daughters, the spouses & partners, the grandchildren and great-grandchildren ... would be asked to make a memory square. I suggested a size minimum (which I ultimately ignored during the constuction) and stressed that the outer 1/4" needed to be EMPTY! I knew that most, if not all, of the family members didn't sew and might inadvertently extend their artistic creations to the very edge. If that were to happen, that part of the design would be hidden in the seam allowance! The memory square was to be designed with some sort of significant memory of or for Josephine. There were no limitations as to what they could do. I would have creative license as to the final arrangment. The backing was to be something soft and cuddly ... I used raised dot Minkee for the backing ... there is NOTHING softer or more cuddly than Minkee!
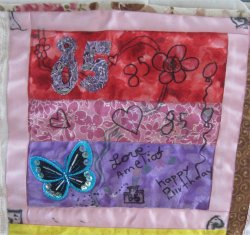
A deadline was given and on that date, I had in my possession 31 squares of varying sizes, fiber content, composition and embellishments. Oh my ... this was going to be very, very, very interesting to work on!
First .. like a t-shirt quilt, a basic grid could be used for the block arrangement. But, personally, I think a grid is just uninteresting. It's boring. I have discovered, when I am at quilt shows, that I tend to bypass the quilts that have that basic grid composition. Therefore ... I decided that I would fussy cut the blocks and fit them together Tetris-style.
What *that* meant is that there was NO standard size for anything. Any block could be fussy cut to any size and put anywhere on the backing. And I was scared to death to start. I knew that if I could just *begin*, then everything would fall into place but the starting was the hard part.
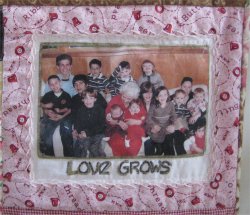
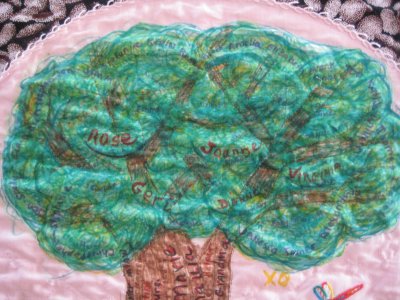
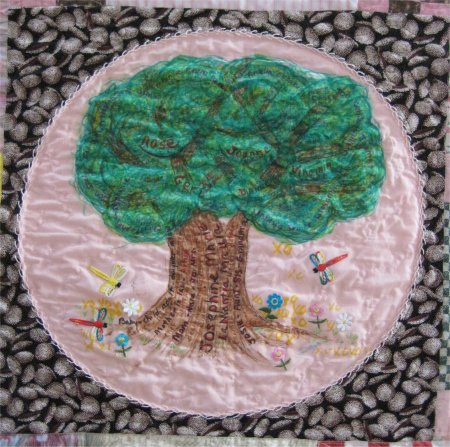 One block stood out as an excellent candidate to be the centerpiece around which all the other blocks would be placed. It was a marvelously hand-drawn tree with the family member names in the boughs and descriptive words about Josephine running up the trunk. Around the tree were embroidered dragonflies flowers. It was perfect to anchor the entire quilt.
I fussy cut the tree into a circle and framed it in a novelty print of non-pareil candies. The choice of the novelty print wasn't arbitrary; it was quite deliberate. Josephine is a one of a kind person; there is no other like her. In a word, she is a non-pareil. The double entendre of the fabric was too perfect to pass up. :-)
There were some "challenge" blocks.
 one block contained small metal rods as part of the design.
Since these rods were both horizonal AND vertical, I know that I was going to have an impossible task of attempting to have the block roll around my Tin Lizzie's rails without tearing a hole in it and other blocks.
I solved the problem by sewing a "place holder" block and then hand-appliqued the real block on top of the place-holder fabric after the quilting was finished.
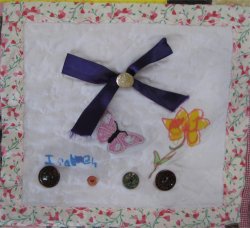
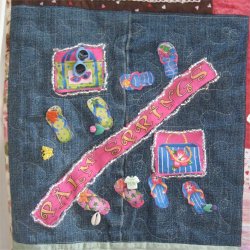
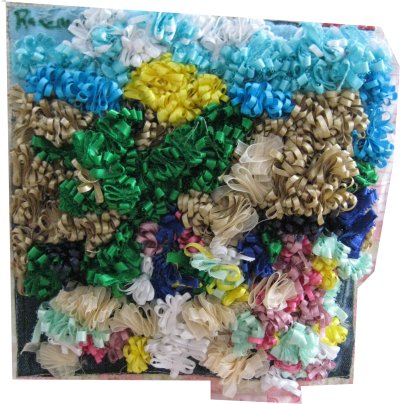 One block had a very heavy denim base fabric and embellished with many, many ribbon loops ... that kept coming undone.
The knots continually pulled through from the back and the ribbon loops unraveled.
This was one very bulky block.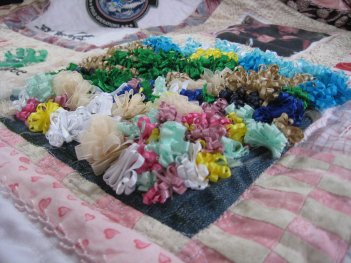
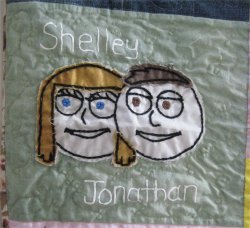
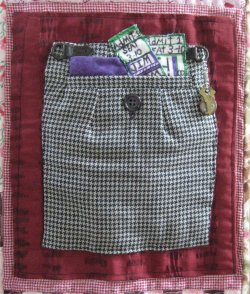
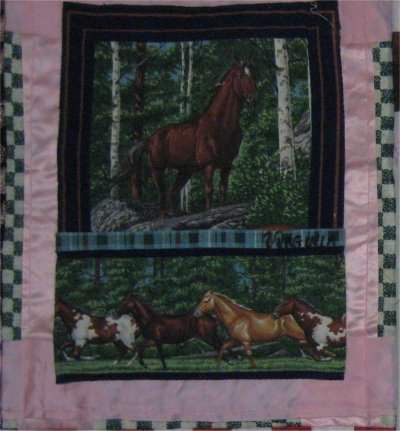 Another block used a pre-quilted fabric used as the base.
(The pre-quilted fabric is the green/white checkerboard fabric.)
This was another very bulky block to work around.
BUT ... these technical problems were overcome and the blocks were nicely integrated into the overall design.
Then, there was the problem with arrangement: any block could go anywhere and could be sized as necesssary. All this freedom just scares the bejesus outta me.
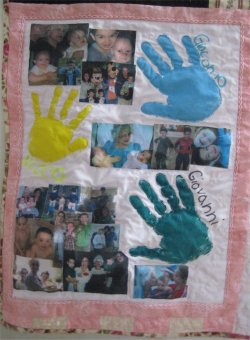
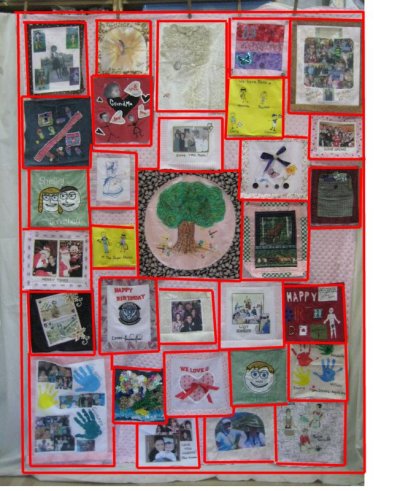 I don't do random. I like order. I like symmetry. I like regular. But I don't like boring! I'd look at what was on my design wall, look at the blocks yet to be used and TRY to figure out what should go where. It was agonizing. It took me one week to figure out the arrangement of the blocks with a grid layout that accomodated different sized blocks. (All that pink you see in the picture to the left is actually the raised dot Minkee and would eventually be covered up.)
The Light Bulb� moment occured when it dawned on me that all the blocks DO NOT NEED to touch each other! I could have EMPTY SPACE between them, if necessary! Now, I hear all you really creative people out there chuckling ... but honestly, this was a revelation for me. :-)
Once blocks were arranged to fit the backing fabric, there were spaces between many blocks that obviously needed to be filled. All of these filler spaces needed to be custom measured .. nothing was standard. Many filler pieces were pieced checkerboards. Some were printed border prints.
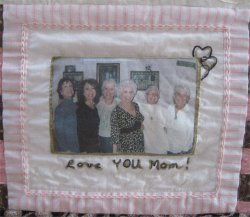
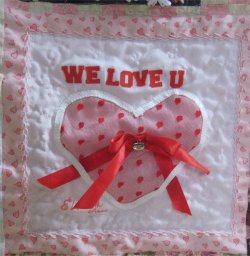
 One was a block that I machine-embroidered with a sentimental saying about Mothers. The alphabet is a Corsiva font from a site that is no longer in existence. The heart design came from ABC Embroidery Designs. This design stitched out beautifully, even the outlining. I was very, very pleased with the final result.
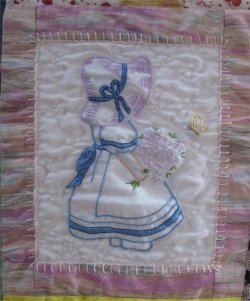
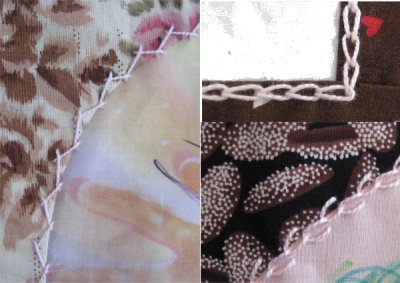 Some blocks got framed with other fabric; some were used as-is. Some seamlines became embellished with hand-embroidery, ala simple crazy quilting. VERY simple embroidery!
Finally, all the blocks were cut to size, the filler spaces filled in and the top was finished! It was ready to be loaded onto my Tin Lizzie! I did feathers and continuous curves and meandering and outlines.
I started piecing the top on February 23rd and finished on March 2nd. The quilting was done on March 6th & 7th. The binding was finally finished on March 8th.